DIY: Compost
Ingredients
- 3 5-gallon opaque nesting buckets
- 1 bucket lid
- Drill fit with a ¼" bit
- 50 pages newspaper , without color ink
- 2 cups potting soil
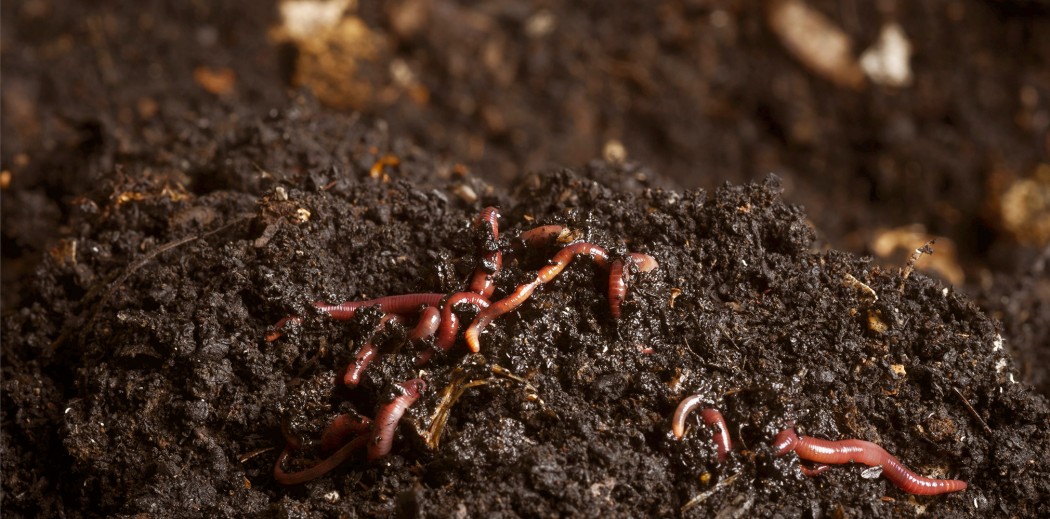
- 2 pounds red wiggler worms
- 1 cup kitchen scraps per week (this will increase)
Instructions
- LABEL your buckets #1, #2 and #3.
- DRILL several small holes in the bottom of buckets #2 and #3, and then set aside #3 for later.
- SHRED the newspaper into strips and gently place it in bucket #2. Fill until about 5” high.
- WET the newspaper until damp but not soaking.
- FLUFF up the wet newspaper so the worms will get enough air.
- SPRINKLE a light layer of soil on top of the newspaper.
- PLACE the worms gently into the bucket.
- SCATTER kitchen scraps (think: vegetables, fruits, eggshells and the like) throughout and gently replace when done.
- COVER worms with another light layer of damp newspaper strips.
- STACK bucket #2 into bucket #1 and put the lid on bucket #2. The #1 bucket catches any liquid that may drain from the worm bucket.
- STORE containers in a dark place such as closet, garage or under the sink.
- FEED the worms about 2-3 cups of kitchen scraps every few weeks for the first few weeks to get the worms acclimated. Then, measuring the amount of kitchen scraps, feed them half their weight everyday. (So, if you started with 2 pounds of worms, feed them 1 pound of kitchen scraps.) The worm population will grow so monitor their food closely. If your compost bin starts to smell, you are feeding them too much.
- DON'T FEED the worms what they can’t eat: meat, dairy, bread, large quantities of citrus. It also helps to feed them small size scraps so they can eat faster.
- ADD bucket #3 on top of bucket #2 when bucket #2 starts to get full of the brown castings. Prepare bucket #3 with the newspaper bedding the same way you prepared bucket #2. Stack bucket #3 on top of bucket #2 and begin adding your kitchen scraps to bucket #3 instead of bucket #2. The worms will gradually migrate up to bucket #3 allowing you to remove bucket #2 to collect the fertilizer.
- USE the compost to enrich soils for gardens or potted plants or to make great mulch.
Tried this recipe?Let us know how it was!


