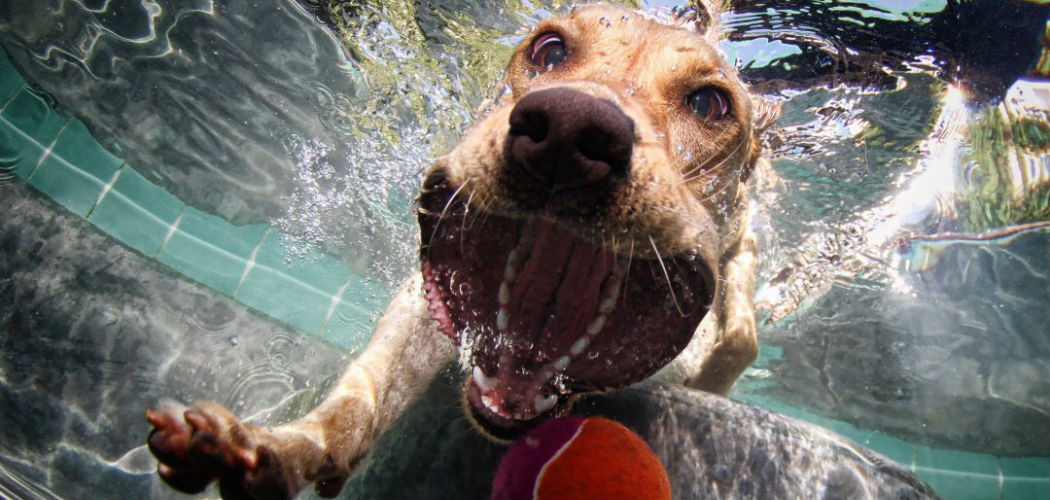
Yesterday I was out for a walk with my dog (our walks are as much for me as they are for her) and I experienced a flash of intense panic. I had been daydreaming about my weekend and was making a mental note that we should make the trek to the county park. She loves to swim and I was imagining throwing the ball into the lake and her paddling out to retrieve it, and then it hit me: what would I do if she went under? Of course I would swim out and pull her ashore, but what then?
So, I did a little research and found this useful information and decided I’d share it with all you responsible pet owners and animal lovers. Hopefully we’ll never have to use it, but just in case, here’s how to give a dog (or cat) CPR:
Step by Step Guide to Pet CPR
1. Check For Signs of Responsiveness
- Before attempting any CPR, first must first make sure your pet truly is unresponsive.
- Place your hand up to your pet’s nose and mouth and check for breathing. Do not cover them up. This will block the airway.
- Put your ear on the area where the left elbow of your pet touches his or her chest. Listen for a heart beat.
2. Clear the Airway
- If your pet does not appear to be breathing, immediately ensure his or her airway is clear.
- Pull your pet’s tongue carefully out from his or her mouth. Use plenty of caution, as even animals that are unresponsive may still bite out of instinct.
- Check your pet’s throat for any foreign objects. Carefully remove any object you find.
Move your pet’s head gently until his or her neck is straight. If you suspect there is a neck injury, do not move it.
3. Initiate Rescue Breathing on Your Pet
- Make sure your pet’s mouth is closed. Then directly breathe into his or her nose, until the chest starts to expand.
- If your pet’s chest doesn’t expand, re-check his or her mouth and throat again for any foreign objects. Reposition the airway, making sure it is completely straight.
- Perform two rescue breaths and continue with the next step.
4. Begin with Chest Compressions
- Lay your pet gently onto his or her side.
- For medium and large sized dogs (A) (over 22 pounds), put your hands, one on top of the other, over the widest part of the chest. Keep your arms straight with your elbows locked and perform the compressions by using your body weight. For small dogs and cats (B) (under 22 pounds), perform the chest compressions by using a one handed technique by placing the thumb and forefingers around the chest from the underside of the animal behind the front legs. Squeeze the thumb to the forefingers towards each other.
- Perform the chest compressions at a rate of 100-120 per minute.
- After 30 chest compressions, perform 2 rescue breaths. Repeat.
Continue with rescue breathing and heart massage compressions until you start to feel regular breathing and a heart beat. Immediately call your veterinarian once your pet’s heart is beating and he or she is breathing. You should take your pet in to be examined by a veterinarian as soon as possible.


